The worlds best nut milk pulp crackers - yes they’re that good!
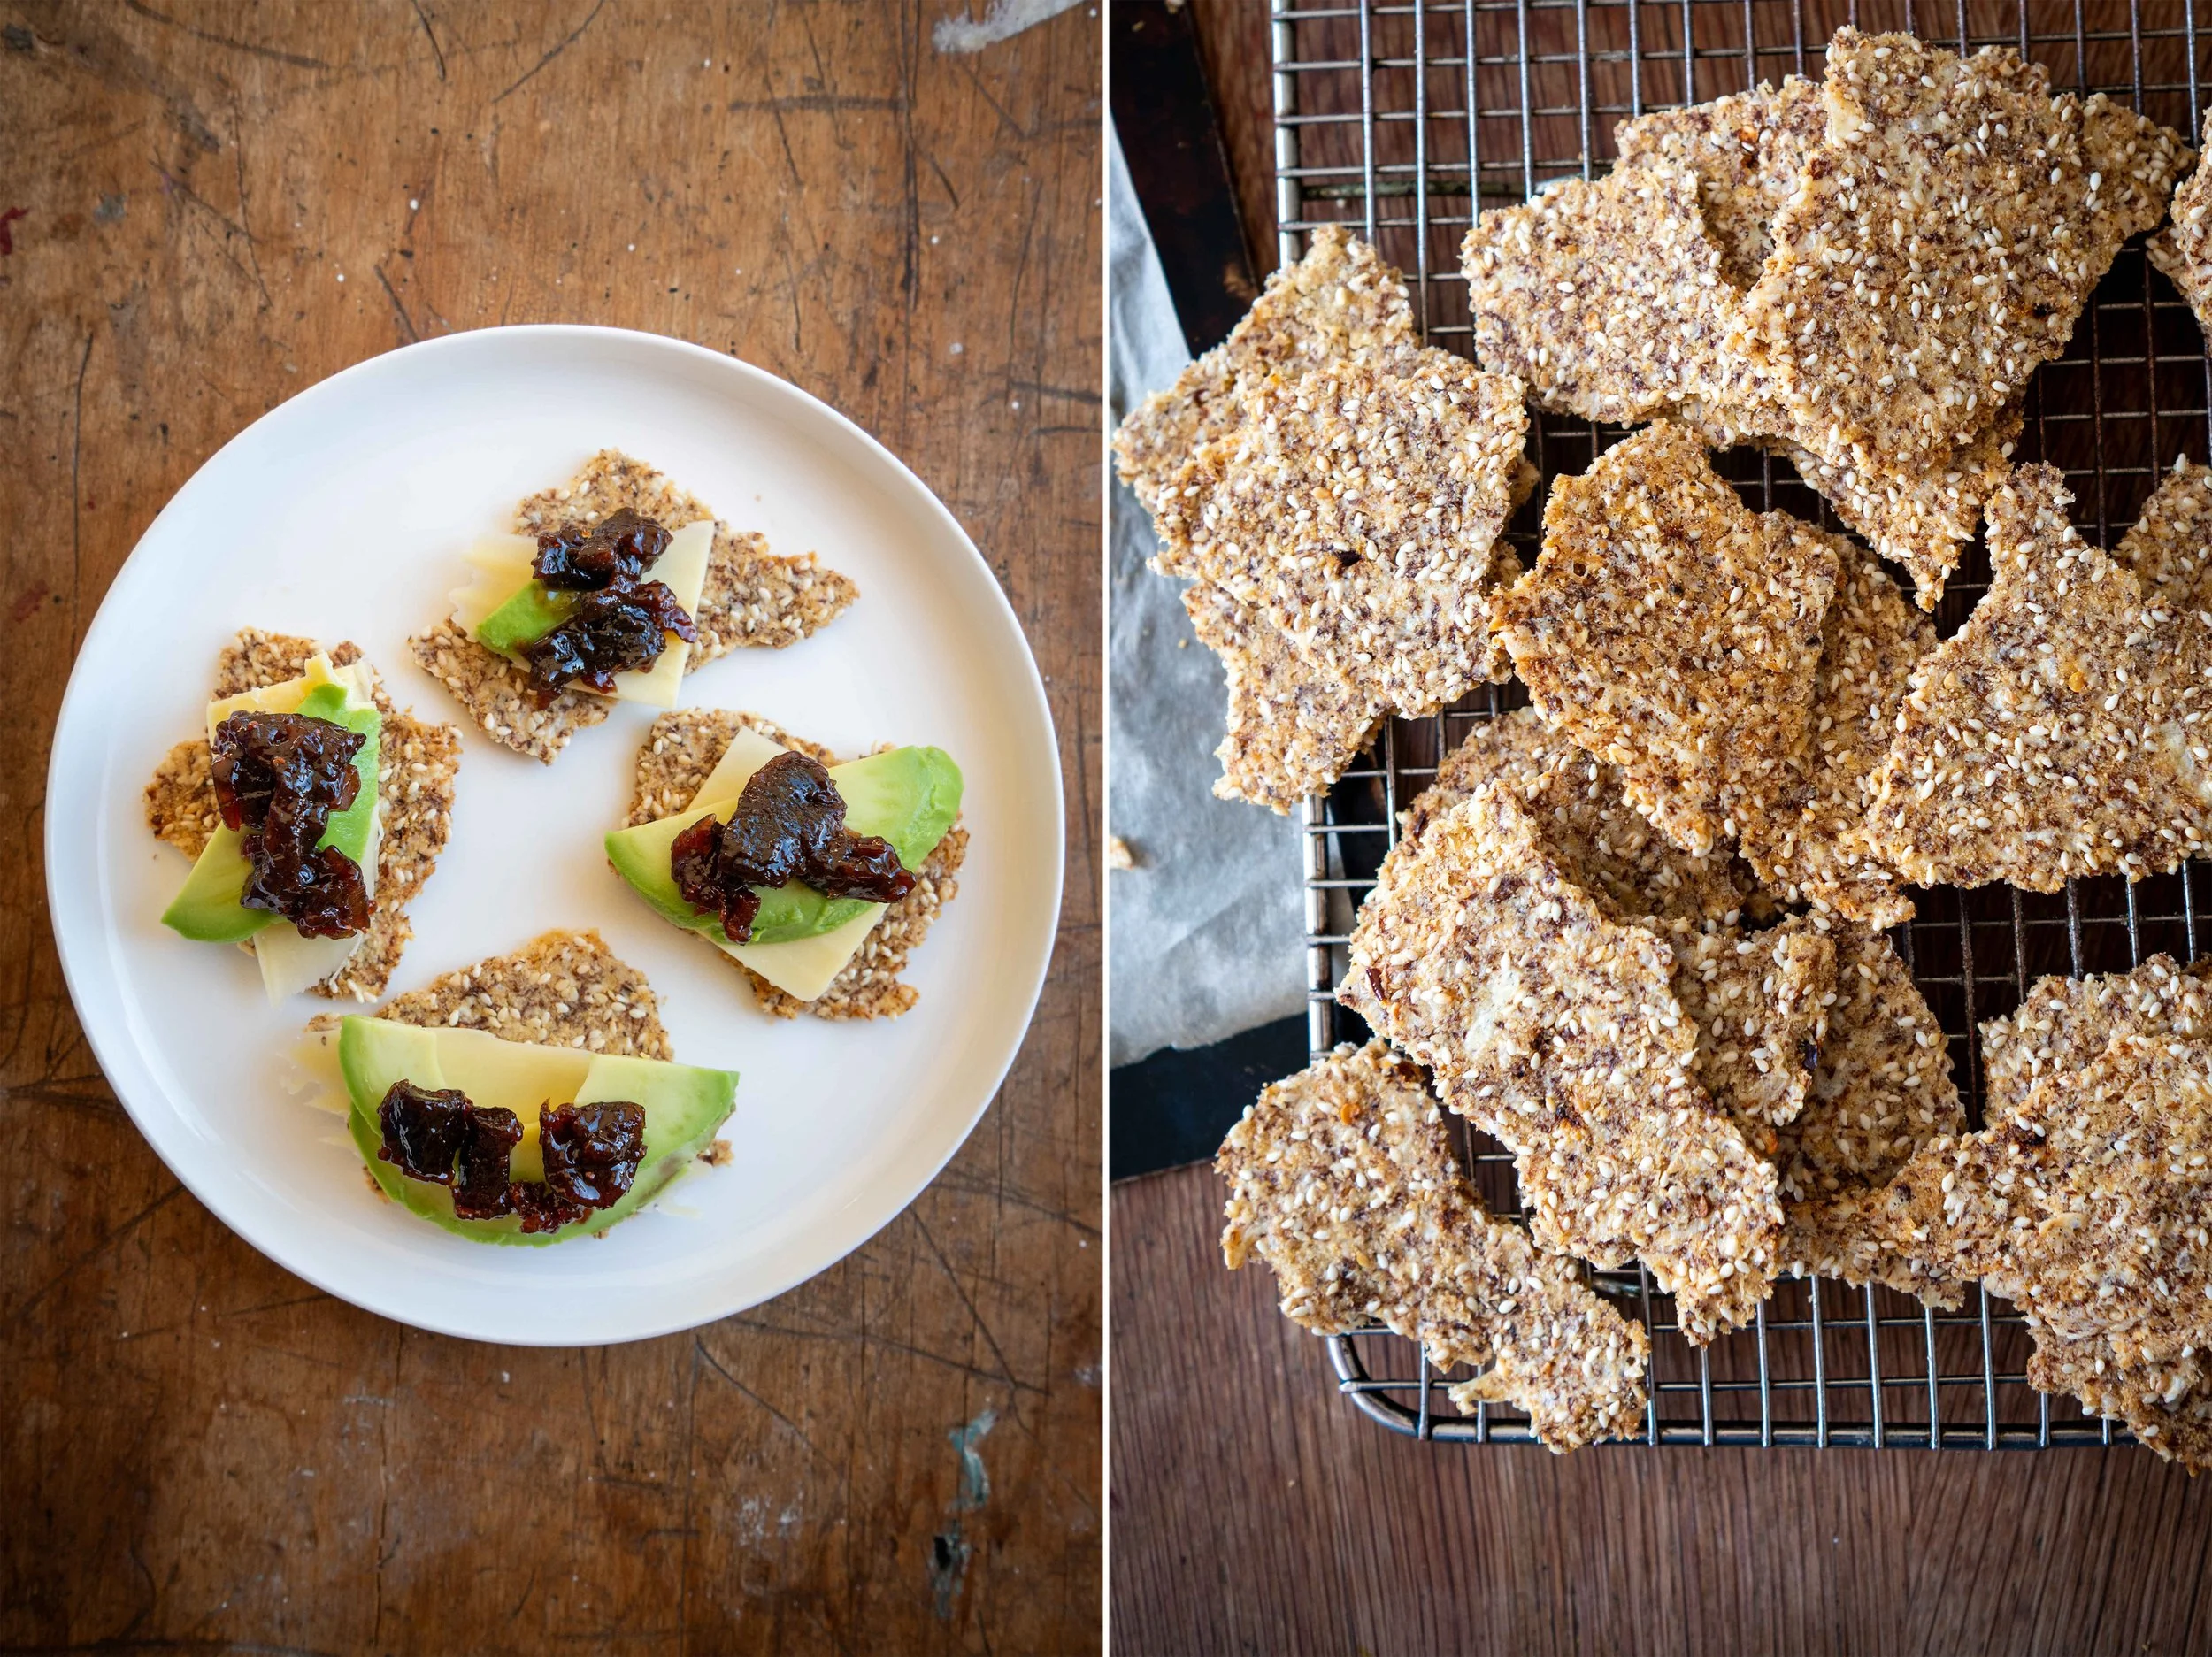
Nut Milk Pulp Crackers. The perfect, crispy cracker for your favourite toppings.
We are thirteen days into August already. As is not unusual in winter, today is grey and drizzly. The kind of day that is best spent inside by a warm fire. That said, I am yet to walk Fern (our beautiful SPCA rescue dog). I enjoy our walks in the rain just as much as I do the ones on beautiful blue clear-sky days. They refresh me, and deep down, though the complaining would suggest otherwise, I think my kids feel the same way too.
I feel blessed that I was bought up in a family who had a vegetable garden, that shared meals around a dining table where there were always seats for extra mouths and that cared about the food that went into our bodies. I am deeply grateful for this and the way that it has shaped my life, and the life of my kids. I have a positive relationship with food and I believe deeply in the potential for it to nourish, bring together and connect people.
This year, for the first time in my 45 years on this beautiful planet, I have been experimenting with how it feels to remove wheat and/or dairy from my diet. Not in a inflexible, ruling-my-life kind of way, but in a curious, watch-and-learn kind of way. Where normally raw milk would be my milk of choice, in my quest to cut down on dairy I sampled many of the nut milk alternatives that line our supermarket shelves only to find that their taste and the inclusion of undesirable ingredients just didn’t work for me. So I set about making my own. And of course when you make your own nut milk, you end up with nut milk pulp. In the past I had tried using it in baking but didn’t like the texture that it lent. I’d also tried feeding it to our chickens (who loved it!), but with the rising cost of raw ingredients that didn’t sit well with me either. So, on a whim one morning I decided to experiment with turning it into crackers. I love making my own crackers I figured it was worth a shot to see whether or not I could transform this by-product into something worthy of carrying a good slice of blue cheese and a dollop of fruity chutney.
The first batch I made were tasty, but thin, and broke apart easily. They were quickly devoured however so I figured I was onto a good thing and so persisted with tweaking the recipe. Adding psyllium husk and making them a little thicker made them hold together and resulted in a crisp, absolutely delicious cracker. So delicious, that we now make nut milk pulp crackers and are left with the milk as the by-product! Yes they are made with cheese which you will know from above I have been cutting down on. I’ve done my experimenting and have worked out what is best for my body and not only do these taste delicious, they are also a fantastic source of protein and good fats as well as being high in fibre. I would love for you to try them, and if you do, please let me know what you think. Make sure that you bake them until they are lovely and crispy, uncooked crackers are a sad, sad thing.
NUT MILK
INGREDIENTS
60 g cashews
60 g desiccated coconut
2 cups cold water
NUT MILK PULP CRACKERS
INGREDIENTS
Nut milk pulp from above
3 tablespoons olive oil
4 tablespoons sesame seeds
2 tablespoons psyllium husk
75 g Parmesan cheese, finely grated
¾ teaspoon sea salt
Pinch chilli flakes
METHOD
Put the cashews into a 2 cup capacity heat-proof jug, cover with boiling water and leave to soak for 4 hour or as much as overnight. Once soaked, drain and rinse well then add the coconut and top up to the 2 cup mark with boiling water. Leave for 3 minutes then, either in a blender or using a stick blender, blend for 1 minute. While still blending, slowly add in the cold water.
Sit a sieve over a bowl and tip in the mixture, straining the milk from the pulp. Using the back of a spoon, press as much of the liquid out of the pulp as you can. Pour the milk into a very clean bottle and store in the fridge. Keeps for 4 days.
Pre-heat your oven to 150C fan bake. Put the pulp into a bowl, add in the remaining ingredients and mix well to combine. Line a baking tray with baking paper and tip the mixture out onto it. Using clean damp hands, press the mixture out until it is about 2-3mm thick. Put into the oven and bake, turning the tray for even cooking if your oven is like mine! Once the crackers are dry enough, I peel mine from the baking paper and flip them over. Sometimes I also break them up a little and rotate them, again to ensure even cooking. But if your oven is low enough then they should cook evenly. Once crisp, remove from the oven, break into pieces and leave to cool on a rack then store in an airtight container.